There’s something magical about making a homemade dessert for the ones you love. Whether it’s an anniversary or a birthday, a heart shaped cake is the perfect centerpiece for any celebration.
You might think making such a beautiful cake needs fancy tools or expensive gear. But, you can make stunning cakes at home without any special pans. This easy trick lets you turn regular baking tins into a beautiful design easily.
This project is great for all bakers who want to add a personal touch to their events. By following these simple steps, you’ll learn to make a heart shaped cake and boost your kitchen skills. Let’s start making a dessert that everyone will love.
Understanding the Basics of a Heart Shaped Cake
When you think of a romantic cake, the iconic heart shape likely comes to mind first. This design is more than just baking. It’s a universal symbol of love and devotion. Whether you’re new to baking or experienced, mastering this shape can turn any dessert into a meaningful masterpiece.
What is a heart-shaped cake called?
You might wonder, what is a heart-shaped cake called? In the kitchen, it’s known by its shape. It’s often called a novelty or shaped cake. But no matter the name, it’s the perfect special occasion cake for showing deep emotions through food.
Choosing the right occasion for your creation
Picking the right time to show off a heart shaped cake is key. These cakes are perfect for Valentine’s Day, but also great for weddings, engagements, and anniversaries. An anniversary heart cake is a beautiful way to celebrate years together, making the moment feel special and personal.
Here’s a guide to help you pick the best time for your heart-shaped cake:
| Event Type | Best Style | Ideal Size |
|---|---|---|
| Wedding | Elegant White Fondant | Multi-Tiered |
| Anniversary | Rich Chocolate Ganache | 8-inch Single |
| Valentine’s Day | Classic Red Velvet | 6-inch Mini |
| Engagement | Soft Pastel Buttercream | 9-inch Layered |
Choosing the right theme for your special occasion cake ensures it makes a lasting impression. Think about the size and flavor to fit the event’s formality.
Selecting the Perfect Recipe and Ingredients
Starting your dessert journey means picking the right recipe. For a birthday heart shaped cake, the ingredients are key. They make sure your cake tastes as amazing as it looks.
Why red velvet heart cake is a classic choice
The red velvet heart cake is a favorite for many celebrations. Its bright color looks stunning with white frosting. It’s a mix of mild cocoa and tangy buttermilk that people love.
Choosing this flavor adds sophistication to your event. It’s great for carving and goes well with many fillings. It’s a versatile choice for any party.
Tips for a moist and stable crumb
Getting a stable crumb is crucial for shaping your cake. Use room-temperature ingredients for a smooth batter. For a pink heart cake, try beet powder or raspberry reduction for color.
These natural colors keep the cake’s structure strong. Always measure flour right to avoid dryness. A moist cake is easier to frost and decorate.
| Cake Type | Stability Level | Best Occasion |
|---|---|---|
| Red Velvet | High | Romantic Events |
| Vanilla Bean | Medium | Birthday Parties |
| Dark Chocolate | High | Anniversaries |
| Strawberry | Medium | Themed Gatherings |
Determining the Right Size for Your Celebration
Finding the perfect portion size is key for a great celebration cake. You want to make sure everyone gets a big slice. This way, you avoid the worry of running out of dessert.
What size heart cake to feed 10 people?
Many wonder what size heart cake to feed 10 people? An 8-inch heart-shaped pan is perfect for this number. It makes a big dessert that everyone will love, without too much left over.
If you want bigger slices or extra for seconds, think about a 9-inch pan. But for a party of ten, the 8-inch is the best choice for size and look.
Understanding 8 inch heart cake servings
Looking at 8 inch heart cake servings helps. An 8-inch pan gives you 10 to 12 slices for a party. Cut the cake into even wedges from the center to get these servings.
Here’s a quick guide for planning:
| Pan Size | Estimated Servings | Best Occasion |
|---|---|---|
| 6-inch Heart | 4-6 People | Intimate Dinner |
| 8-inch Heart | 10-12 People | Birthday Party |
| 10-inch Heart | 16-20 People | Anniversary Event |
Remember, the height of your layers matters too. Stacking two or three layers makes taller, thinner slices. This way, you get more servings and a stunning cake for your guests.
The Two Methods for Creating a Heart Shape
You can make a stunning heart shaped cake in two ways. You can use special pans or simple items you have at home. Both methods can lead to a beautiful cake, but they differ in convenience.
Using a dedicated heart-shaped cake pan
Getting a dedicated pan is the most straightforward way to get great results every time. These pans are made to give sharp edges that perfectly capture the heart shape.
Since the mold is already formed, you don’t have to worry about it falling apart or being hard to put together. Just pour your batter into the greased pan, bake, and then take it out. It’s a great choice if you make heart shaped cakes often for special occasions.
The DIY hack: Combining square and round pans
If you don’t want to buy special pans, you can use a clever trick with pans you probably have. Mix a square pan with a round pan of the same size to make a heart shaped cake easily.
First, bake a square cake and a round cake. Then, cut the round cake in half and place each half on two sides of the square cake. This simple DIY method makes a heart shape without needing special molds.
This trick works well and lets you be creative in your kitchen. With some frosting to cover the seams, your cake will look like one piece. Your guests will be amazed.
Step-by-Step Guide to Baking Your Cake
Starting your journey to a perfect heart-shaped cake is all about preparation. Setting up your workspace right can prevent sticking and uneven browning. Consistency is the key to a bakery-quality cake in your kitchen.
Preparing your pans for easy release
Heart pans have tight corners where batter can stick. Grease the interior well with butter or baking spray. Don’t forget the corners, as they’re prone to breakage.
For the best results, line the pan’s bottom with parchment paper that matches the heart’s shape. This layer is your reliable insurance policy against sticking. Dust the pan lightly with flour and tap out the excess for a smooth release.
Managing oven temperatures for even baking
Keeping the oven temperature steady is crucial for a flat top. If it’s too hot, the edges will bake before the center, causing a dome or cracks. Investing in an oven thermometer helps ensure your oven’s temperature is accurate.
Don’t open the oven door during the first half of baking. Sudden temperature drops can ruin your cake’s structure. Keeping the heat stable ensures your cake bakes evenly from edge to center.
Mastering the Art of Heart Shaped Cake Design

Getting a perfect finish on your custom cake begins before you start piping. The baking is key, but how you put it together matters most. Focus on making it sturdy so it stays upright and looks great for everyone to see.
Leveling and stacking your layers
To start your heart shaped cake design, make sure each layer is flat. Use a serrated knife or a wire cake leveler to even out the tops. This step keeps your cake steady as you stack it.
After leveling, place the first layer on a firm cake board. Spread a thin layer of frosting between each tier. This acts as a strong adhesive and keeps the layers from moving. It’s crucial for the heart shape’s unique curves.
Applying a crumb coat for a professional finish
A crumb coat is the key to a smooth, professional look. It’s a thin layer of frosting that catches crumbs and seals the cake’s surface. It gives your custom cake a solid base for the final icing.
After the crumb coat, chill your cake in the fridge for at least thirty minutes. This essential cooling period lets the frosting set. It makes your heart shaped cake design look like a pro’s every time.
Creative Decorating Ideas for Every Event
Your custom cake should show off the special event you’re celebrating. Whether it’s a big milestone or a casual get-together, the cake’s design sets the mood. Thoughtful details turn a simple dessert into a lasting memory.
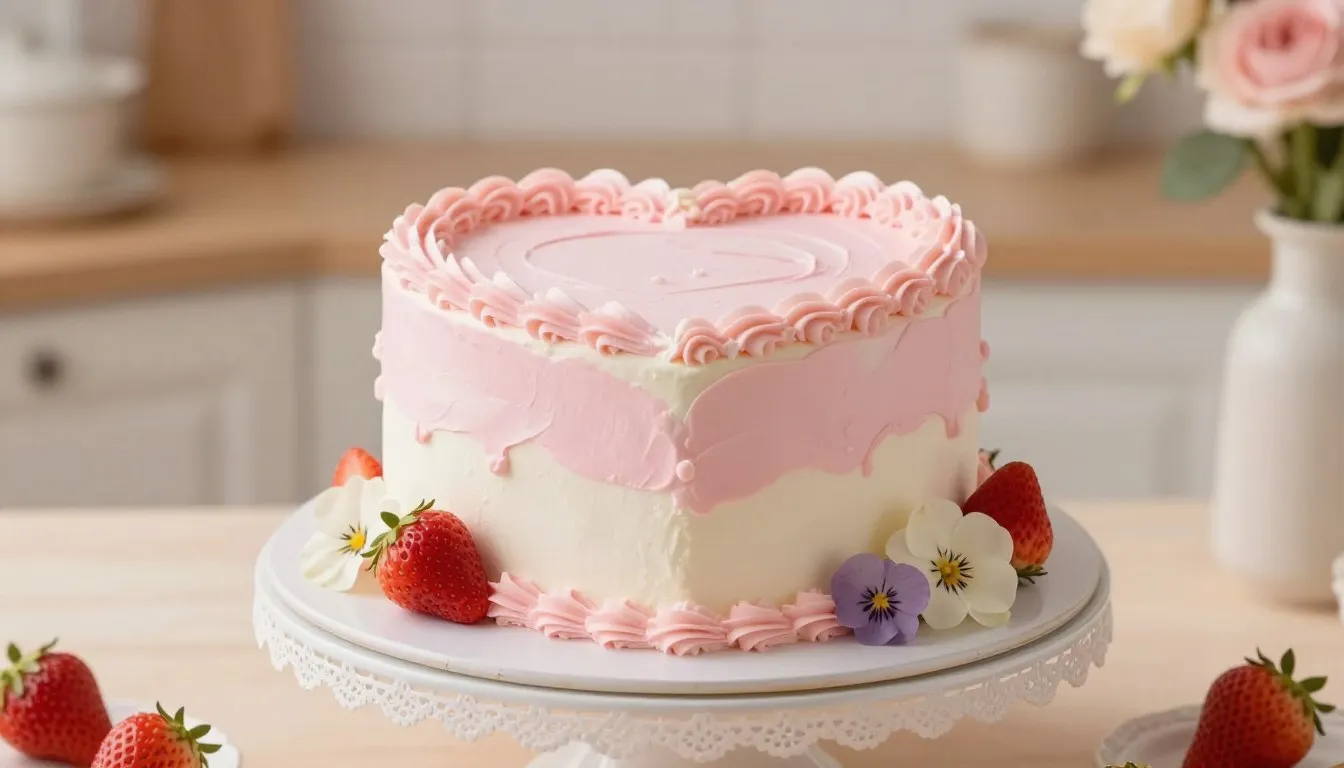
Techniques for a stunning pink heart cake
Making a gorgeous pink heart cake is simpler than you might think. Mix a bit of beet powder or freeze-dried raspberry dust into your buttercream for a soft, natural pink. These ingredients give a vibrant color without artificial dyes.
For a pro look, try an ombre effect. Blend different pink shades from dark to light. Start with a darker pink at the bottom and get lighter towards the top. This elegant gradient makes your cake stand out.
Adding personalized messages and borders
A romantic cake looks even better with a heartfelt message. Use a small piping tip for clean, easy-to-read lettering. Practice on parchment paper before adding it to your cake.
To make your anniversary heart cake pop, add a decorative border. A classic shell border or simple pearl piping adds a touch of class. Precision and patience are key to a look that’s both personal and elegant.
Essential Tools for Professional Results

Mastering cake decoration starts with the right tools. The correct equipment makes your heart shaped cake design easier to do well. Quality tools ensure your cake looks polished and professional.
Selecting the right piping tips
Piping tips are key for adding final touches. Beginners need a basic set of round and star tips for borders and details. Consistency is crucial when piping, so practice on parchment paper first.
Star tips help create beautiful shell borders for your heart shaped cake design. For personalized messages, use a small round tip for clean letters. Always clean and dry your tips before decorating.
Using offset spatulas for smooth frosting
An offset spatula is vital for a smooth finish. Its angled blade spreads frosting evenly without dragging on the cake. This tool prevents tears in the cake surface, important for heart shapes.
Offset spatulas give you better control over frosting. This ensures a professional heart shaped cake design and keeps the crumb coat intact. Clean your spatula between strokes for a flawless look.
How to Cut a Heart Shaped Cake for Serving
Once your cake is ready, learning how to cut a heart shaped cake for serving is the last step. The shape is beautiful, but cutting it can be tricky. You want every slice to look as good as it tastes.
The most efficient slicing technique
First, place your cake on a flat surface. Use a long, thin serrated knife for clean cuts. Wipe your blade clean with a damp cloth between each slice to avoid crumbs.
Begin by cutting the cake in half vertically. Follow the center line from top to bottom. Then, slice each half into parallel strips. This keeps the heart shape intact and makes serving easy.
Ensuring equal portions for your guests
Consistency is key for equal servings. For 8 inch heart cake servings, imagine the grid before cutting. Score the top frosting lightly to mark your lines.
Here’s a table to help manage your portions for your next event:
| Cake Size | Estimated Servings | Slice Width |
|---|---|---|
| 8 Inch Heart | 10-12 Pieces | 1.5 Inches |
| 9 Inch Heart | 14-16 Pieces | 1.25 Inches |
| 10 Inch Heart | 18-20 Pieces | 1 Inch |
By following these guidelines, you can serve your celebration cake with confidence. Your guests will love the effort you put into both baking and presentation.
Conclusion
Learning to make shaped desserts turns your kitchen into a real bakery. Each special occasion cake you make becomes a highlight, bringing people together. It’s all about the shared joy of sweet treats.
You now know how to make a perfect red velvet heart cake. This skill lets you try new flavors and textures. You can keep your cakes looking great and tasting even better.
Your next birthday heart shaped cake will be a big hit. Keep practicing to get better at piping and smoothing. This will make your cakes even more impressive.
Share your baking with friends and family to spread happiness. Your hard work makes sure every slice is both beautiful and delicious. It’s a treat for everyone.